I just recently upgraded to a Kindle Fire from my old Kindle 2. I love it, but I really didn't want to spend $30 or more for a cover that I *kind of* like. So I thought I would make my own. I wanted something that opened like a book, didn't have elastic everywhere to hold it in place, and that could be secured shut. I also wanted pockets to hold things...a paper here, screen wipe there. Most importantly, I wanted it to be semi-stiff, so that it would offer more protection. Since there are no Fire Cover tutorials yet, I combined features from a couple of regular Kindle cover tutorials and added my own twist as well. The two tutorials I referenced can be found at
Skip To My Lou and
Dixie Mango.
All seam allowances are 1/4" unless otherwise noted (and, as always, Top Stitching is as close to the edge as possible)
-----------------------------------------------------------------------------------------------------------------------------
Kindle Fire Cover
Supplies
- 1/2 yard Main Fabric
- 1/2 yard Contrast Fabric
- 5/8 yard Fusible Peltex
- 5/8 yard Fusible Fleece
- Small amount 3/4" sewable velcro
- embellishments, if desired (a button for the strap, for example)
- Pressing Cloth
- Matching Thread
- Iron
Construction
Step 1: Cut out your materials
You will need to make the following cuts. You will end up with 21 pieces.
From the Main Fabric:
-2 cuts 12 1/2" X 9 1/4"
-2 cuts 3 1/2" X 9 1/4"
-1 cut 2 1/2" X 6"
From the Contrast Fabric
-2 cuts 8 1/4" X 5 5/8"
-2 cuts 4 1/2" X 9 1/4"
-4 cuts 2" X 2"
-1 cut 2 1/2" X 6"
From the Peltex
-4 cuts 8 " X 5 1/2"
From the Fusible Fleece
-1 cut 12 1/2" X 9 1/4"
-1 cut 2 1/2" X 6"
From the velcro
-1 cut 1 3/4" long
Step 2: Fuse your pieces
Fuse the 12 1/2" X 9 1/4" piece of Fleece to one piece of Main Fabric that is the same size. This will be the outside of the cover.
Fuse the 2 1/2" X 6" piece of Fleece to the piece of Main Fabric OR the Contrast Fabric that is the same size. Choose the fabric that you want on the outside of the strap.
Fuse 2 pieces of Peltex together. Repeat with the other 2 pieces of Peltex.
Step 3: Prepare your strap.
Attach your piece of velcro to one end of the LINING portion of the strap (the piece that won't show when the cover is closed. I usually attach the "rough" side of the velcro to the strap. With wrong sides together, take the 2 1/2" X 6" pieces of Main and Contrast Fabric (one will have the fleece fused to it) and make sure your raw edges line up. Sew around 3 of the edges, making sure that one of the edges is the one with the velcro. Turn.
Step 4: Prepare the Kindle "Pocket"
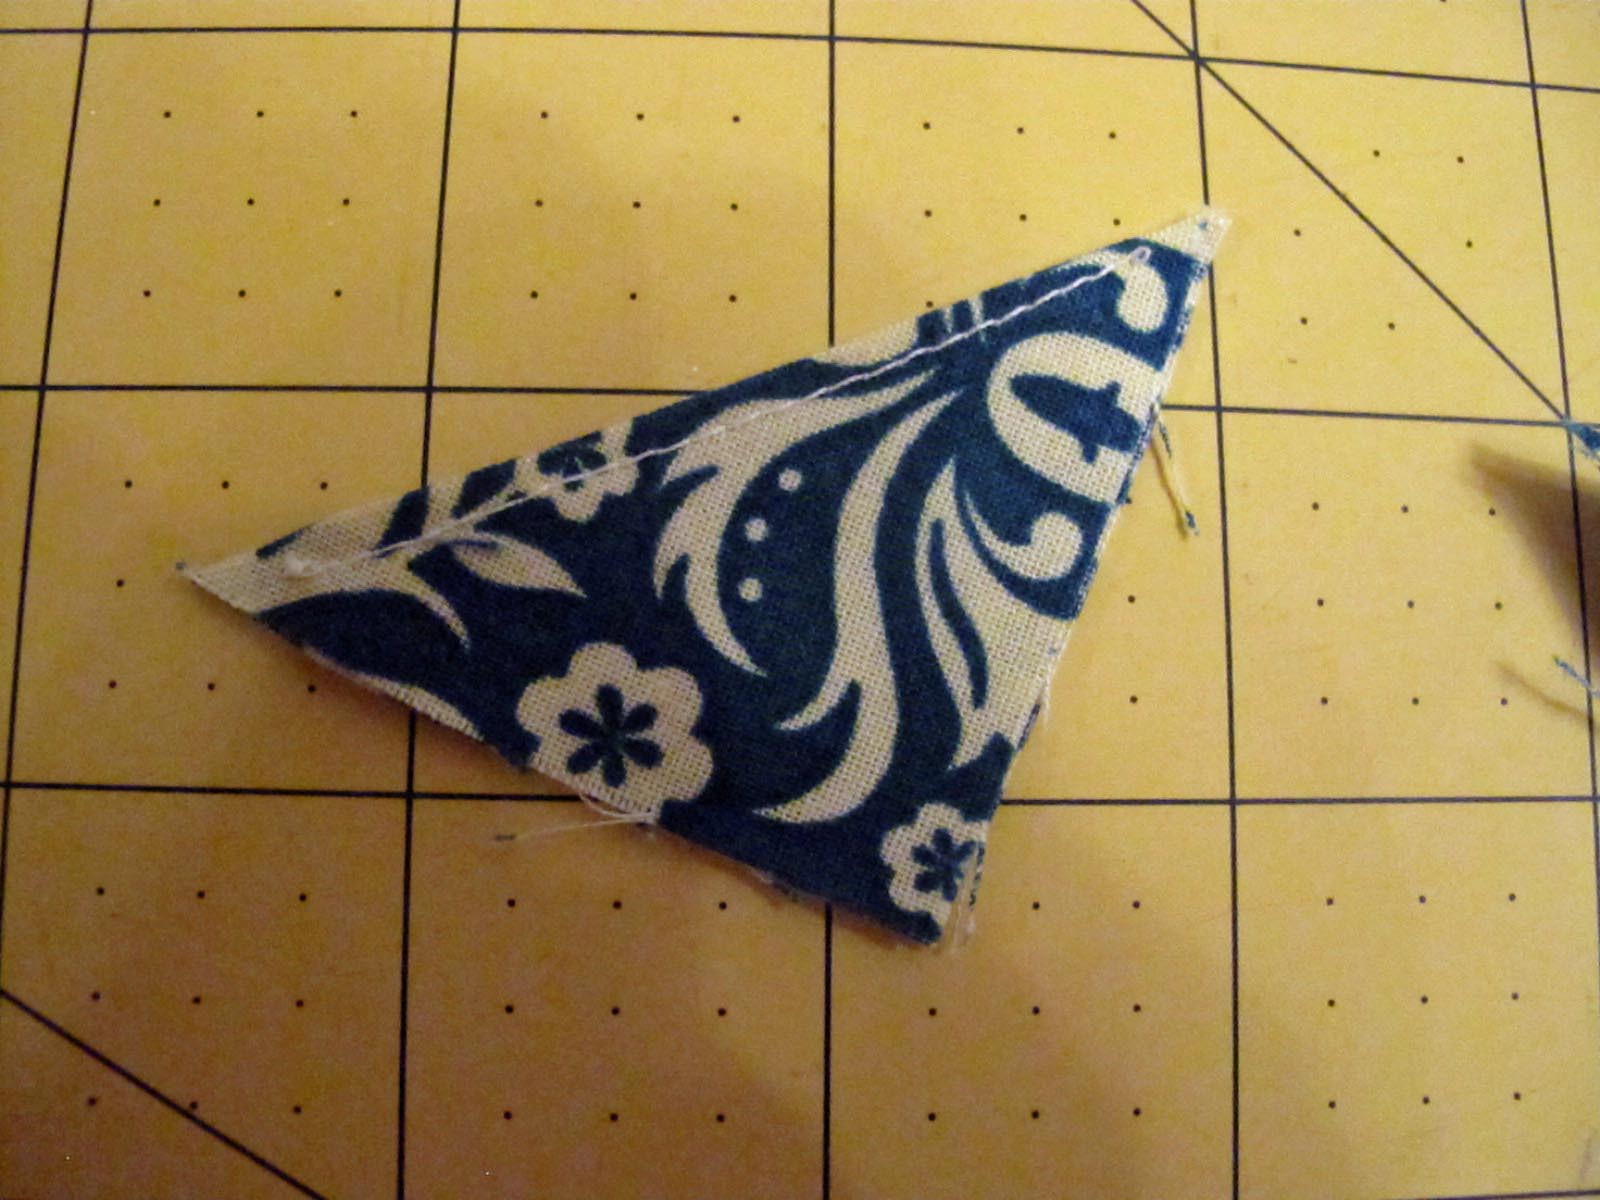
Fold your 4 2" X 2" squares in half, forming triangles, right side out. Press. If you want, top stitch along the crease. Place them at the corners of your first 8 1/4" X 5 5/8" contrast piece (on the right side of the fabric, with the squared corners of the triangle at the corners of the fabric (see photo). Place second 8 1/4" X 5 5/8" contrast piece on top, right side down, matching raw edges. Pin in place, making sure you keep the triangles in place.
Sew around perimeter twice for security, leaving a gap for turning. Clip corners and turn, poking corners out. Turn raw edges in and press...now make sure your Kindle Fire fits!
*Note: I had to sew closer to the edge than the 1/4" seam allowance I use in every other step. It is easier to make the pocket smaller than it is to make it bigger, so start out by stitching fairly close to the outer edge (1/8" if possible) and if you need to sew around further in, you can.
Step 5: Preparing the other "Pockets"
Take your two 3 1/2" X 9 1/4" Main Fabric pieces and place them right sides together. Stitch along ONE of the long edges. Turn right side out, and press. Topstitch. This edge will be the edge of the pocket that shows (that forms the opening to the pocket). Repeat with the two 4 1/2" X 9 1/4" Contrast Pieces. Place the Main Fabric pocket onto the Contrast pocket, matching raw edges. Pin. Find the horizontal center of the pockets, and create 2 Main Fabric Pockets by sewing a seam in the center of the Main Fabric piece only. (see photo)
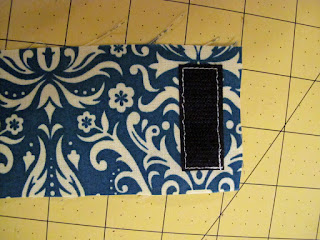
Step 6: Place the other piece of velcro
Fold the main panel of the cover (the one with the fusible fleece) in half lengthwise, so that the 12 1/2" edges line up. Fold your strap in half lengthwise as well. Open both. Match the center creases, and lay the strap onto the right side of the fabric on the RIGHT HAND EDGE (see photo). With a fabric marking pencil, mark the cover where the end of the strap hits (aka where the velcro is). Fold your second (soft) piece of velcro in half so that it forms a square. Measure 1 1/4 inches to the right of the line you drew, and place your velcro, making sure to line it up with the center crease on the cover. Sew in place.
*
Note: I had a hard time describing this step...if it is confusing please let me know and I will try to help.
Step 6: Place the Kindle "Pocket" onto the interior panel
Fold the interior Main Fabric Panel (the one without the fleece) in half, right sides together, so that it measures 12 1/4" X 9 1/4". Finger press the fold to mark the center, so it opens like a book. Open. Now center the Kindle pocket on the right hand side of the crease, on the right side of the fabric. Pin.
Stitch the pocket in place, on the straight edges only, not the corners. You want the corner pieces to be a bit free so that you can get the Kindle in and out.
Step 7: Place the other "Pockets" onto the interior panel.
Matching Raw edges, place the prepared "pockets" onto the left hand side of the Main Fabric Interior Panel. Pin. Baste around raw edges to hold in place.
Step 8: Putting it all together
To place your strap, place the prepared interior panel onto the prepared exterior panel, making sure that the left hand side of the interior panel (with the 3 pockets) is on the same side as the velcro on the exterior (see photo). Fold like a book, with the velcro side of the exterior panel on top. Line up the velcro on the exterior with the velcro of the interior (matching raw edges). CAREFULLY detach the velcro, making sure to keep the raw edges in place. Lay the strap down on the side of the cover, with the raw edges where you had them lined up. Now, you want the strap to lie along the BACK of the exterior panel, so you will pinch the raw edges together, holding the strap in place, but flipping the entire cover (See picture, that's confusing). Pin the strap to the EXTERIOR panel only, but pin it from the WRONG side of the panel.


Now, with strap still pinned, flip so that the right sides of the interior and exterior panels are facing, with raw edges matching. Make sure that the side of the exterior panel that has the strap on it is on top of the Interior Panel side with the Kindle Pocket.
Stitch around edges, leaving a 6" opening at the bottom for turning (and to insert your peltex panels). Turn & Press.
Step 9: Finishing
Insert your peltex panels, 1 at a time, placing one on each side of the "book." Turn the raw edges at the bottom to the inside, and Top Stitch around entire perimeter of Cover.
With your fingers, find the gap that is between the two Peltex panels. Sew a seam in between the two...it will help keep them in place as well as help the cover to fold.
If you are adding an embellishment on the strap, do it now. Insert your Kindle Fire and make sure that the strap "latches" when the fire is in place. If not, take out the piece of soft Velcro that is on the main body of the cover, re-position, and hand sew in place. You won't be able to sew through the Peltex, but if you take your time you can hook the needle through the fabric and fleece and get it on there...trust me, I had to do it!
That's it, You're done!!!


 Attach your piece of velcro to one end of the LINING portion of the strap (the piece that won't show when the cover is closed. I usually attach the "rough" side of the velcro to the strap. With wrong sides together, take the 2 1/2" X 6" pieces of Main and Contrast Fabric (one will have the fleece fused to it) and make sure your raw edges line up. Sew around 3 of the edges, making sure that one of the edges is the one with the velcro. Turn.